
Simple Nail Designs Teal Jellyfish Nails
Simple Nail Designs Teal Jellyfish Nails Nail art, when done with a touch of simplicity, can transform your look into a calming statement. Among the myriad of designs, teal jellyfish nails offer a serene and ethereal beauty that’s perfect for those who appreciate understated elegance. Here’s how you can effortlessly create this captivating design and bring a piece of the ocean to your fingertips.
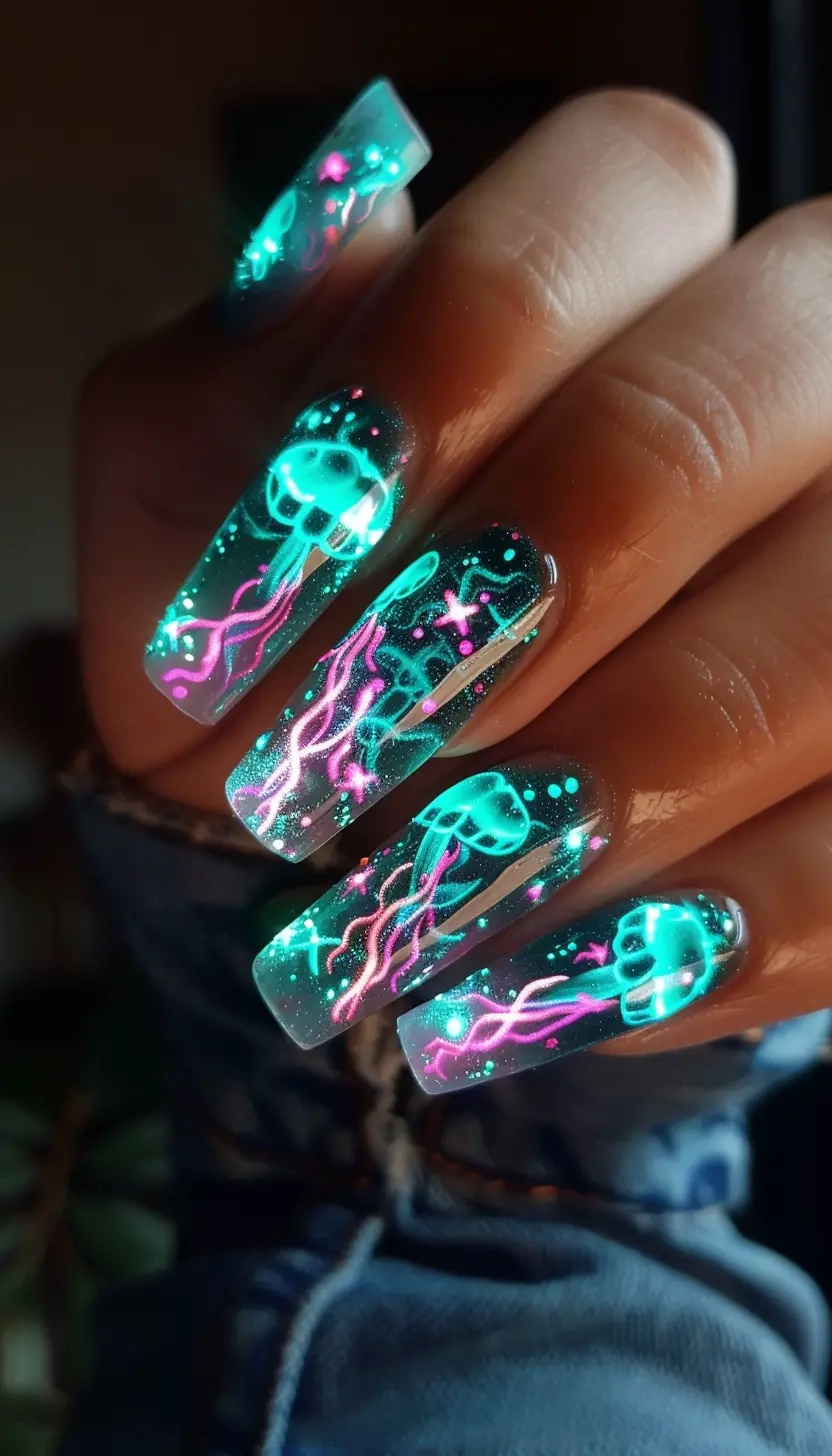
The Allure of Teal Jellyfish Nails
Teal jellyfish nails are a fusion of elegance and whimsy, featuring the mesmerizing beauty of jellyfish against a soothing teal backdrop. The choice of teal, with its tranquil and refreshing tones, creates a serene base that mimics the calm of ocean waves, while the jellyfish design adds a touch of enchantment.
Materials You’ll Need
To achieve this serene look, gather the following supplies:
- Teal Nail Polish: This will serve as the base color.
- White Nail Polish: For the jellyfish and delicate details.
- Clear Top Coat: To add shine and longevity.
- Nail Art Brush or Fine Detailer Brush: For precise designs.
- Dotting Tool: For creating the jellyfish’s tentacles.
- Nail Art Sponge: Optional, for blending techniques.
Step-by-Step Guide
- Prep Your Nails: Start with clean, dry nails. Apply a base coat to protect your natural nails and enhance the longevity of your design.
- Apply the Teal Base: Paint each nail with a coat of teal polish. Allow it to dry completely before moving on to the next step. If necessary, apply a second coat to achieve a smooth, even color.
- Create the Jellyfish Design: Using a fine detailer brush or a nail art brush, dip into white polish and gently paint the shape of a jellyfish on the tip of each nail. Jellyfish have a delicate, almost ethereal appearance, so keep the design light and flowing.
- Add Tentacles: With a dotting tool or the same brush, add fine, trailing lines extending from the jellyfish to represent its tentacles. These lines should be thin and graceful to mimic the natural flow of jellyfish tentacles.
- Blend for a Soft Effect (Optional): For a dreamy, underwater effect, use a nail art sponge to lightly dab some teal polish over the jellyfish design. This technique creates a soft gradient that blends the jellyfish into the background.
- Seal Your Design: Finish with a clear top coat to seal in your artwork and provide a glossy finish. This also helps to protect your design from chipping.
Tips for Perfecting Your Teal Jellyfish Nails
- Patience is Key: Allow each layer to dry thoroughly to avoid smudging your design.
- Practice Makes Perfect: If you’re new to nail art, practice the jellyfish design on a piece of paper or a nail wheel before applying it to your nails.
- Experiment with Variations: Feel free to add small, subtle details like glitter or tiny bubbles to enhance the underwater effect.
Final Thoughts
Teal jellyfish nails offer a serene, oceanic charm that’s both simple and striking. This design is perfect for those who want to incorporate a touch of the ocean’s tranquility into their everyday style. With just a few essential tools and a bit of patience, you can create a calming nail design that’s sure to turn heads and bring a splash of beauty to your fingertips.
Embrace the tranquility of the sea with your teal jellyfish nails and let your hands be a canvas of peaceful elegance.


